Active@ Boot Disk Creator
Active@ Boot Disk Creator helps you prepare a bootable storage media. This device can be used to start a computer with a damaged hard drive and perform operations such as data recovery, partition recovery, data wiping or erasure, disk image creation, and security access repair.
To prepare a bootable device:
-
Select the bootable media
Select the target media type: CD/DVD/Blu-ray, USB Flash Drive, or a pre-configured ISO image file. ISO image files can be used with virtual machines such as VMware or Hyper-V, or burned to a CD/DVD/BD disc at a later time.
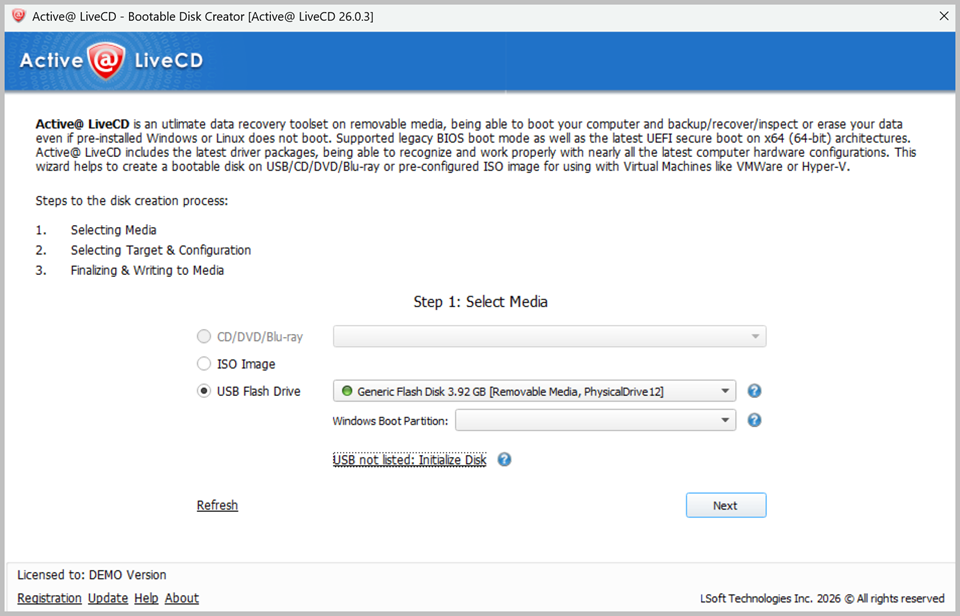
If more than one CD/DVD burner is present, or several USB drives are connected, select the appropriate device from the drop-down list. If your USB drive is not displayed in the list, click the link below the drop-down and initialize it properly before proceeding.
-
Choose options
Make sure that the Linux-based LiveCD/LiveUSB checkbox is selected.
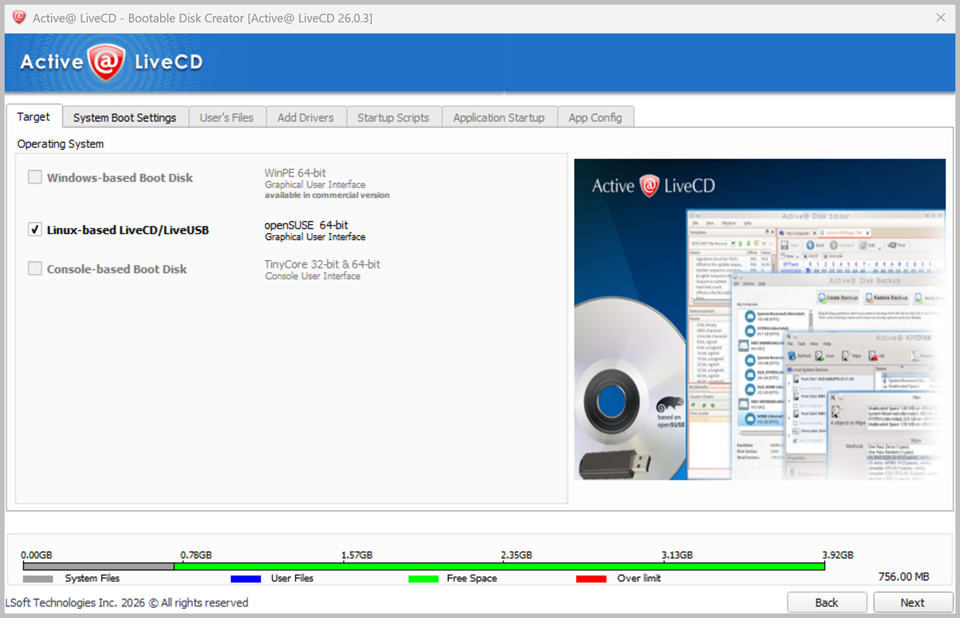
At this step you can specify the following additional options:
-
To configure boot options, click the System Boot Settings tab. You can modify the default settings for Time Zone and Default Application startup mode.
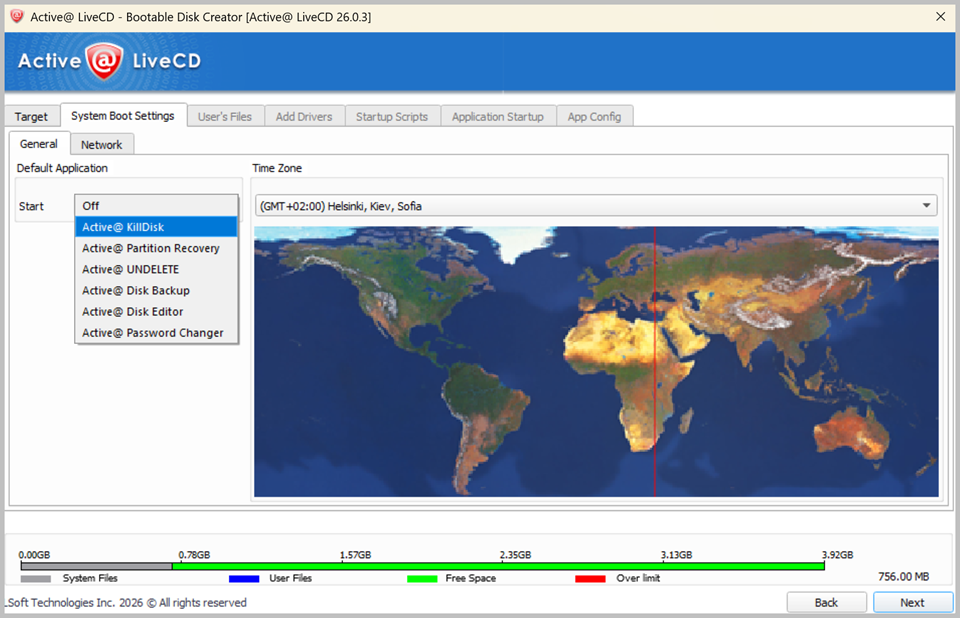
The Default Application option allows you to launch any Active@ software product automatically at system boot.
-
The Network tab allows you to pre-define network settings, including network initialization, dynamic or static IP configuration, and firewall state.
-
The Application Startup tab allows you to configure the default application to run at boot time along with any required command line parameters.
-
-
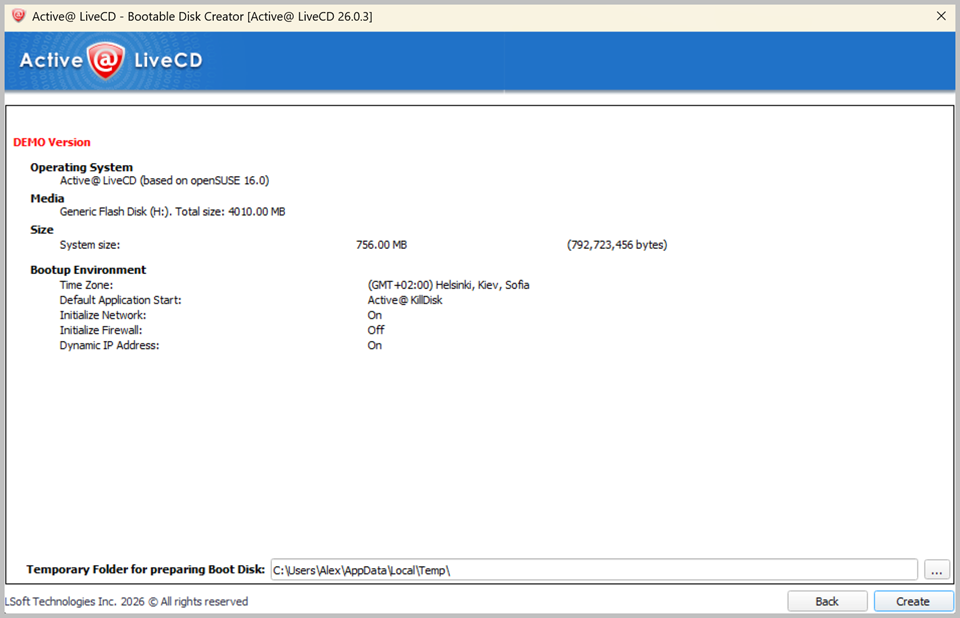
Verify settings
Review the selected media, sizes, and boot environment to confirm that all settings are correct.
A bootable storage media must be inserted and explicitly selected in Step 1 before you can proceed to the next step.
When preparing a bootable USB flash drive, the drive will be reformatted and all existing data on the device will be permanently erased.